This tutorial shows you where to find the setting in the Kwoot admin, what to modify and where to control the result on the team side or on the client side.
Before you begin, keep your establishment's actual information on hand: offer, commercial rules, conditions, customer texts or visual elements depending on the setting concerned.
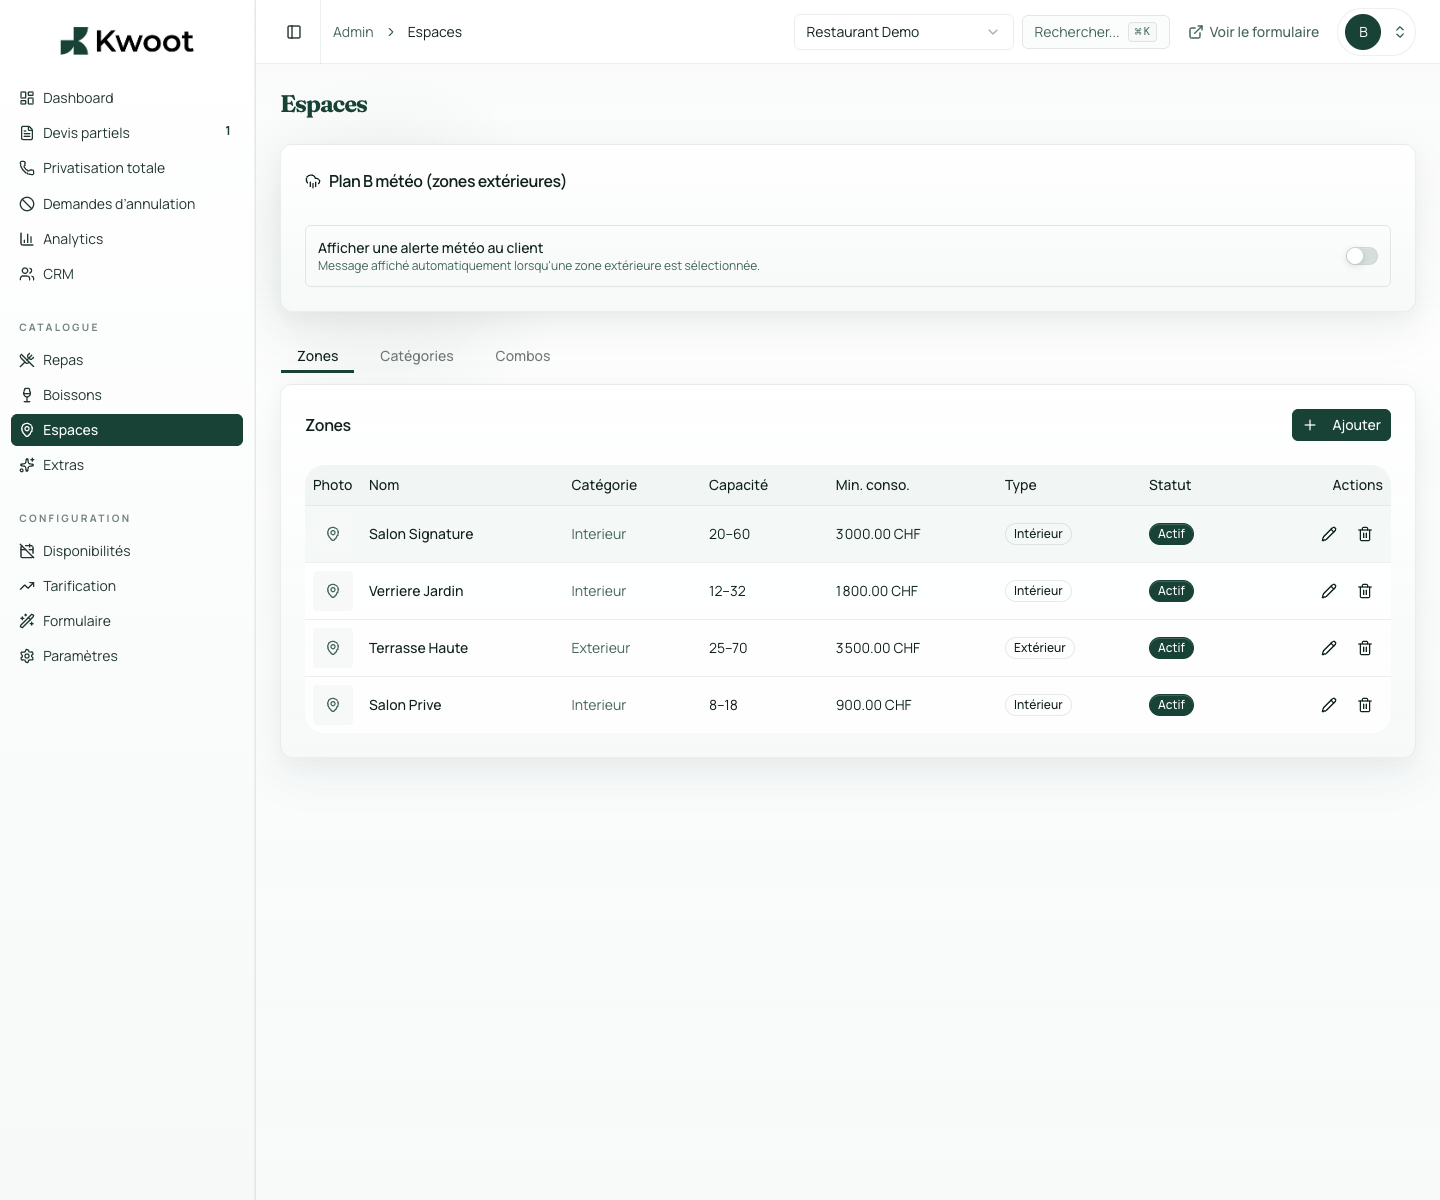
Configuration steps
- Open Admin > Spaces.
- Create useful categories to organize spaces.
- Add each zone with description, min capacity, max capacity and space type.
- Activate only areas actually available for sale.
Captures to follow
The screenshots below show the setting in the admin, then the places where the change may appear in the form, quote, customer portal or internal tracking.
Save, reload the public form or folder, and create a quick test. If the text, price or document is unclear to a customer, correct it before going live.
Continue setup
Extras avoid forgotten quotes: technology, cloakroom, decoration, DJ, private event of terrace, additional staff or fixed costs.
Open → Following Set consumption minimums per spaceThe minimum spend must be configured in the right place to avoid unclear negotiations. Kwoot can display it and take it into account in the files.
Open →